

I made these awesome binders for my kids for Chirstmas, and they loved them! Correction: They LOVE them. No past tense, as they're still happily entertained for about an hour at a time with these.
(On a side note, does anyone know how in the world to keep blogger from rotating my pictures? I mean, come on, blogger. This is getting annoying.)
Anyway, back to the topic! In these coloring books, I've placed a many different things. In my son's book, since he's still a wee little one, I put those toddler markers as well as the beginner triangle crayons, along with a few heart shaped crayons I had made. Oh, and don't forget the stickers! What kid doesn't like stickers? Of course, I printed off coloring pages as well as added the uncolored ones from their many different random coloring books.
As for my daughter's, I put watercolors, colored pencils, normal awesome crayons, stickers, and some new paint brushes. On top of the coloring pages, I added watercolor specific pages by printing fun pictures on to water color paper I found at the PX. (And, yes, the PX actually sold something crafty I was looking for! Amazing, isn't it?)
So, now, I bet you're wondering how in the world I made this, right? Well, here's how:
You'll need:
-Binder (I imgaine 3 inch binders will work best. My 1.5 inch ones are incredibly bulky
-Fabric (Two types or even three if you feel adventurous)
-Stationary. (the crayons/markers/pencis/ect you want in there as well as the stickers.)
-Coloring pages of your choice. I'd advise cardstock for paints/markers. Or, you know, the watercolor paper for, well, watercolor.
-A hole punch for the type of binder you're using.
-Anything else you want to add for personal touches.
How to:
First, you'll want to cut a big piece of fabric for the covering of the book. I used a recieving blanket. It was the PERFECT size.

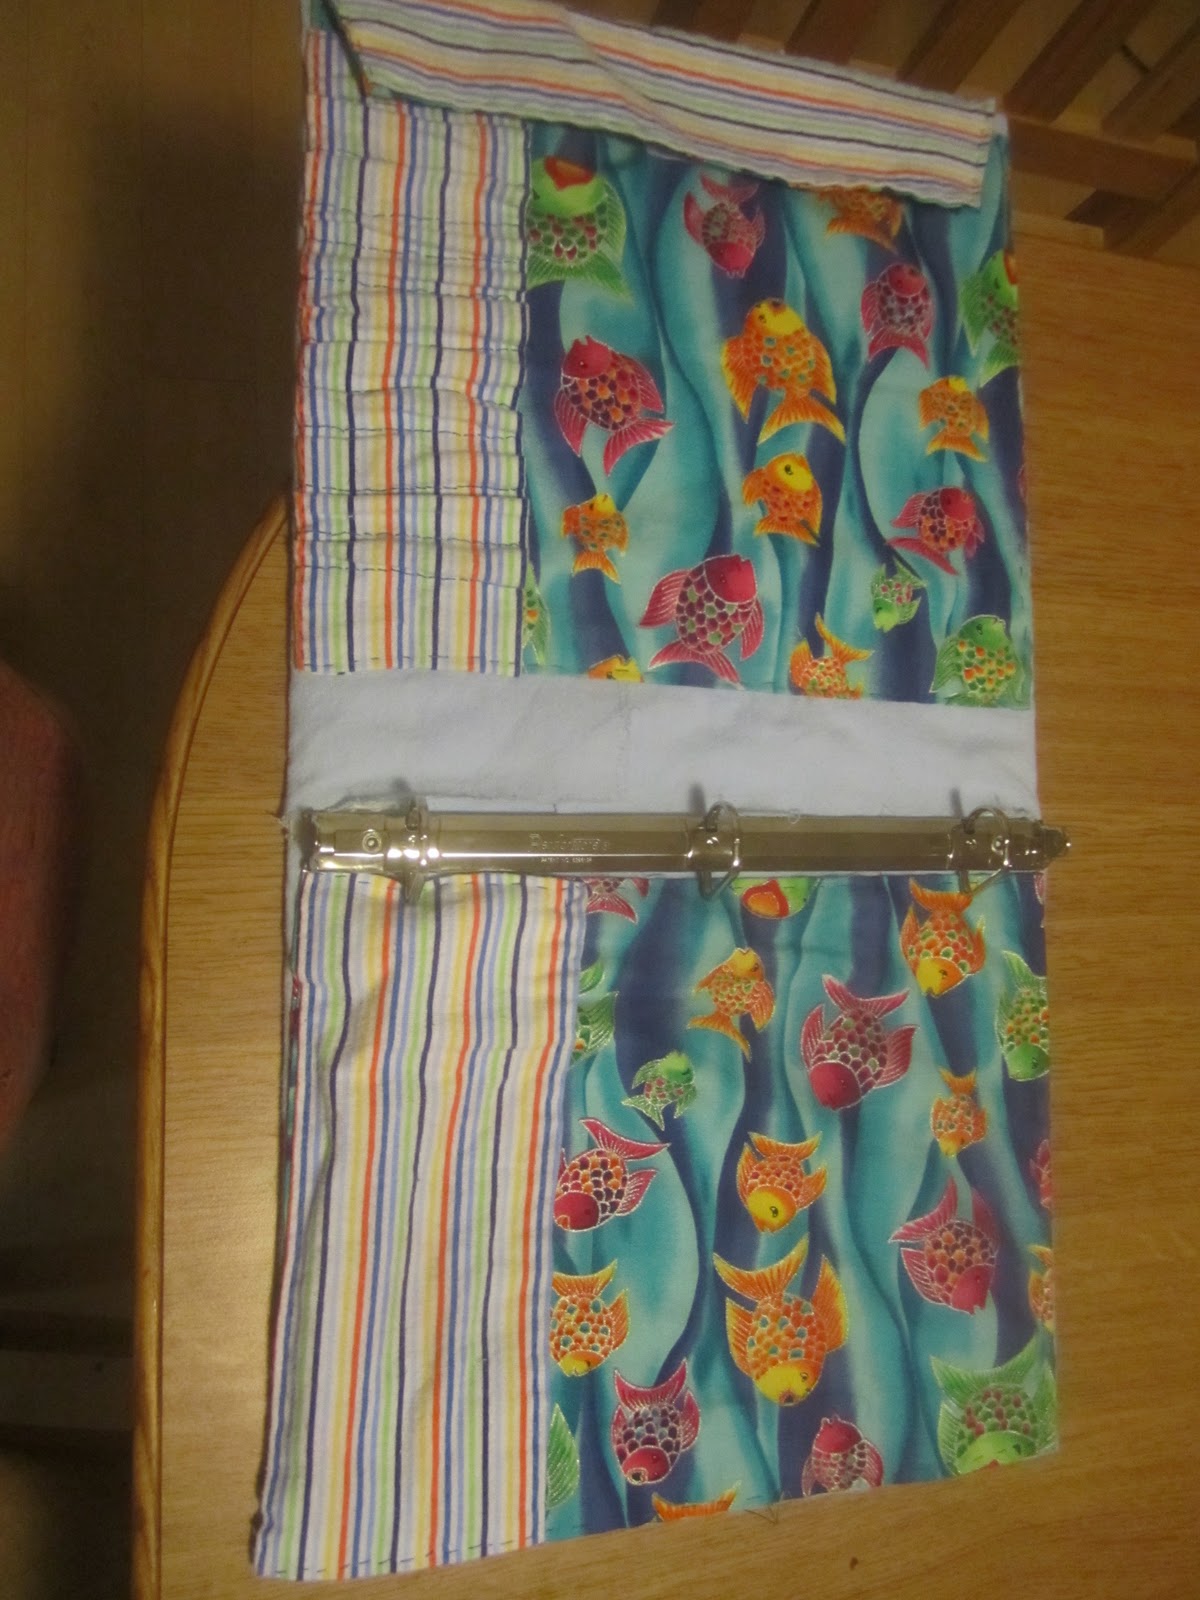
I laid the binder on the fabric and cut the slits of sorts where the metal thing is.

Next, I folded the top down and tucked it under the bracket. (Is that what its called?)

Then, I pinned everything in place, mostly so I could figure out what needed to go where, especially on the front.

Next, I sketched out what I wanted to embroider on my son's book. Then, undid everything and did my embroidery business.

Then I redid the first three steps and measured out the fabrics. (see more on that below). Before pinning them into place, I stitched the crayon pockets into place.


I pinned all the pieces into place and started sewing. One thing not shown above is the paper pocket on the right side of the book. (left picture, though.)
Then, I just sewed it all into place. Make sure when sewing that you only go through one layer of the receiving blanket fabric piece that way you can slide the binder back into the pocket created, thus covering it.

Bam! The difficult part is done! Now all you have to do is fill it up with whatever. Here's my completed two:


Now, about why a three inch binder would be best. This is what my daughter's looks like when I close it:


All in all, that's all there is to it! Simple project, right? Oh, by the way, if Lisa Frank sold fabric, I would be in pre-teen heaven. I loved those products and probably always will! How about you?
Curious as to what I'm doing? check out that original post here.
Oh my gosh, I remember Lisa Frank! That was *the* thing when I was in elementary school :D
ReplyDelete