Thursday seems like an odd day to begin, but then again it is December first, and what better way to start out a new month with a new challenge? With an ornmanet DIY ofcourse!
Today, for seasonal thursday, I made this fabric star I found here.

For me, it was kindof difficult, but I think that more relates to two things. One, the blog is in a language I can't read and google translate didn't want to work. Two, I don't own an iron. I'll get more into detail with the second one as the tutorial goes on. Regardless, lets begin!
Awesome Fabric Ornament!
-Four fabric strips measuring 8cm x 30cm (Or for those Americans who don't care to measure using the metric system, 12in x 3.5in)
-Either an iron or some pins.
-Ribbon
-A button (Unless you feel like doing it how the pinterest tutorial did. They just punched a hole and strung the ribbon through I think.)
Lets begin!
Step 1:
Cut your strips to the approriate length if you haven't already. My fabrics don't exactly match, but they worked. I'm sure I'll make a more colorful ornament eventually.

Step 2:
Fold each one in so the ends meet in the middle like below. If you have an iron, iron it flat. Otherwise, pin it.

Step 3:
Now, fold that in half so it is one big long strip. Irion if you can. Otherwise, pin into place.

Make all the strips look like the one above. After some trial and error I discovered that if you're using pins, use four so your fold lines aren't on the pins.

Step 4:
Overlap the strips to make a sort of weave like in the pictures below.


Step 5:
Next, flip it over. Take the now top strip and bring it over one piece and tuck it under the next like in the picture below.


Step 6:
Now, take one strip that has a different fabric next to it and fold it into an under triangle like so:

Step 7:
Now fold it into another triangle like this:

Step 8:
Fold it on top of the other triangle and tuck it under the red fabric.

Repeat for all like fabric on this side.

Step 9:
Flip over and repeat steps 6-8 for each piece of fabric.
Step 10:
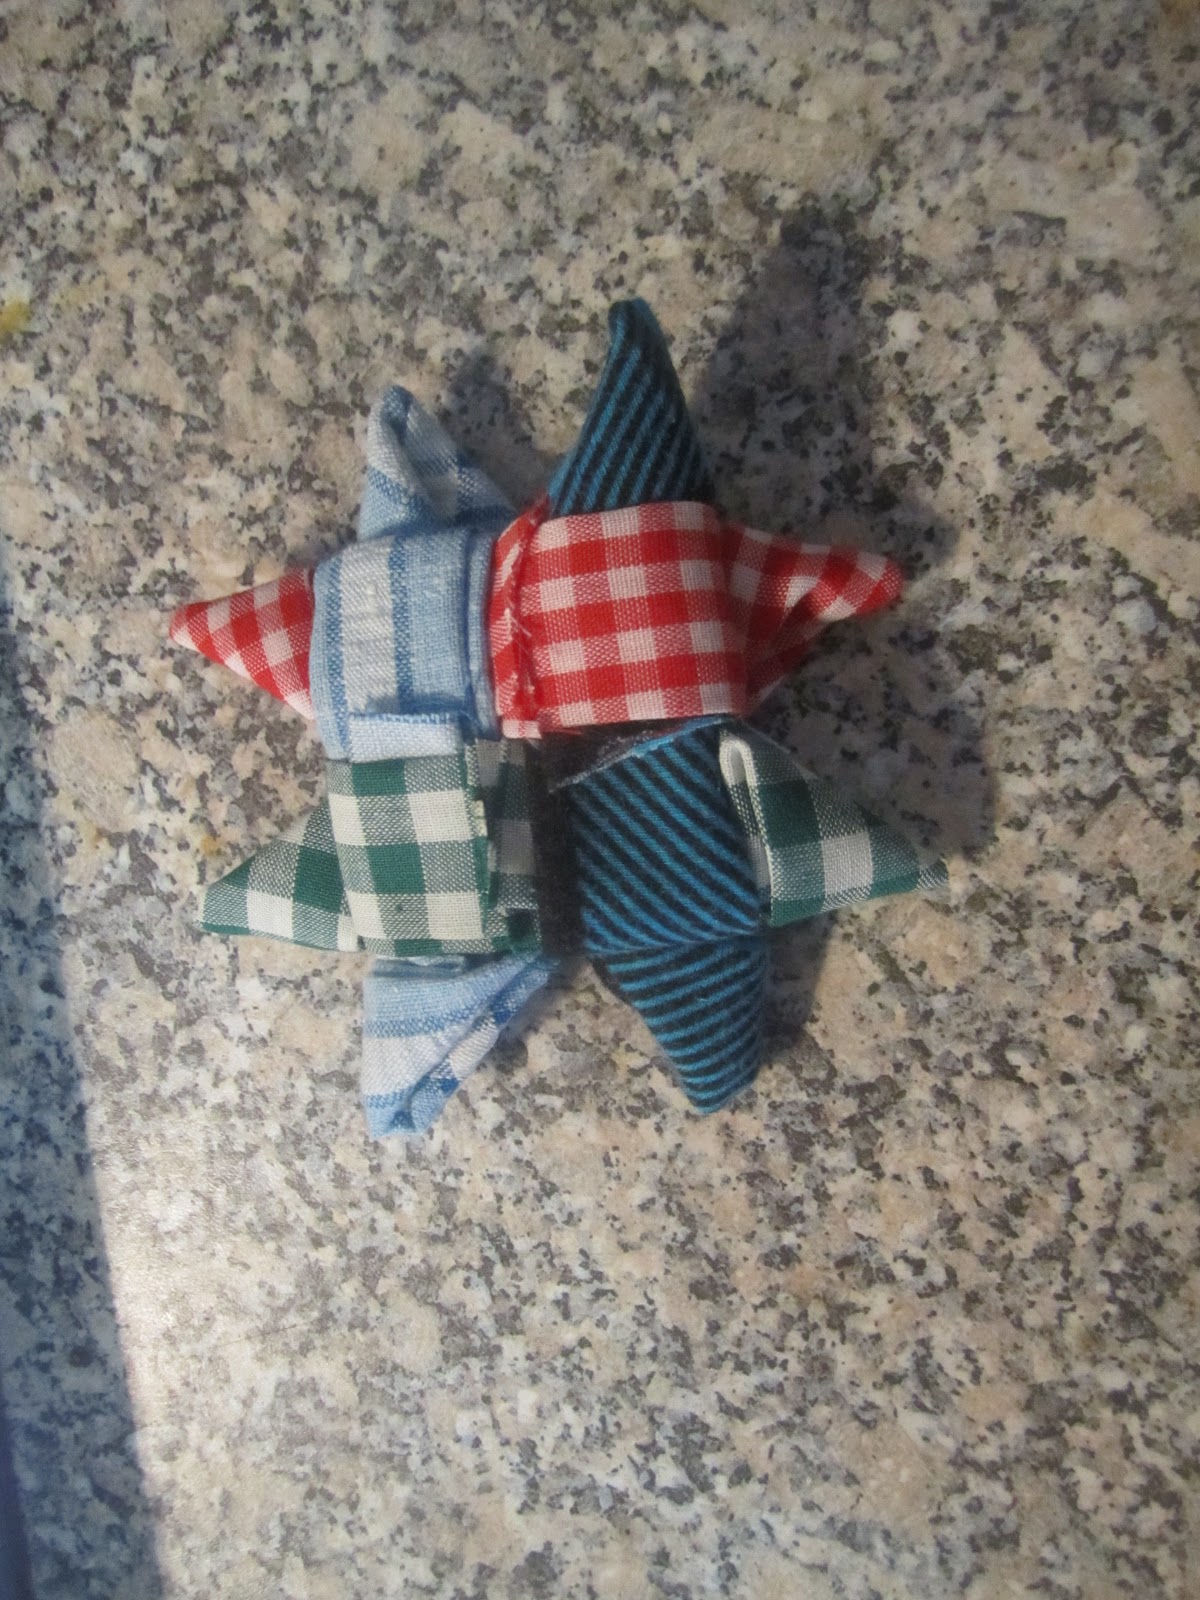
Cut off any fabric sticking out where it shouldn't so that it looks even like so:

Step 11:
Lastly, sew on the button and tie the ribbon! Then, hang it on the tree!

What a fun awesome use of scraps this ornament turned out to be. If you find anything too confusing, just tell me and I'll do my best to clear it up for you. All the best and happy crafting!
Did you make one too? I'd love to see it!
Curious as to what I'm doing? See the original post here!
i think an iron and spray/liquid starch would be a great help on this one! i'm glad you still figured it out, but i'm sorry google translate wouldn't work for you.
ReplyDelete